Add a layered art capsule
A layered art capsule is a stack of transparent images the reader can peel apart. Toggle layers on and off to see the composition come together. For when to pick it over other capsule types, see the concept page.
1. Create the capsule
From your project's Capsules card click Create capsule, give it a title, pick Layered art, and click Create.
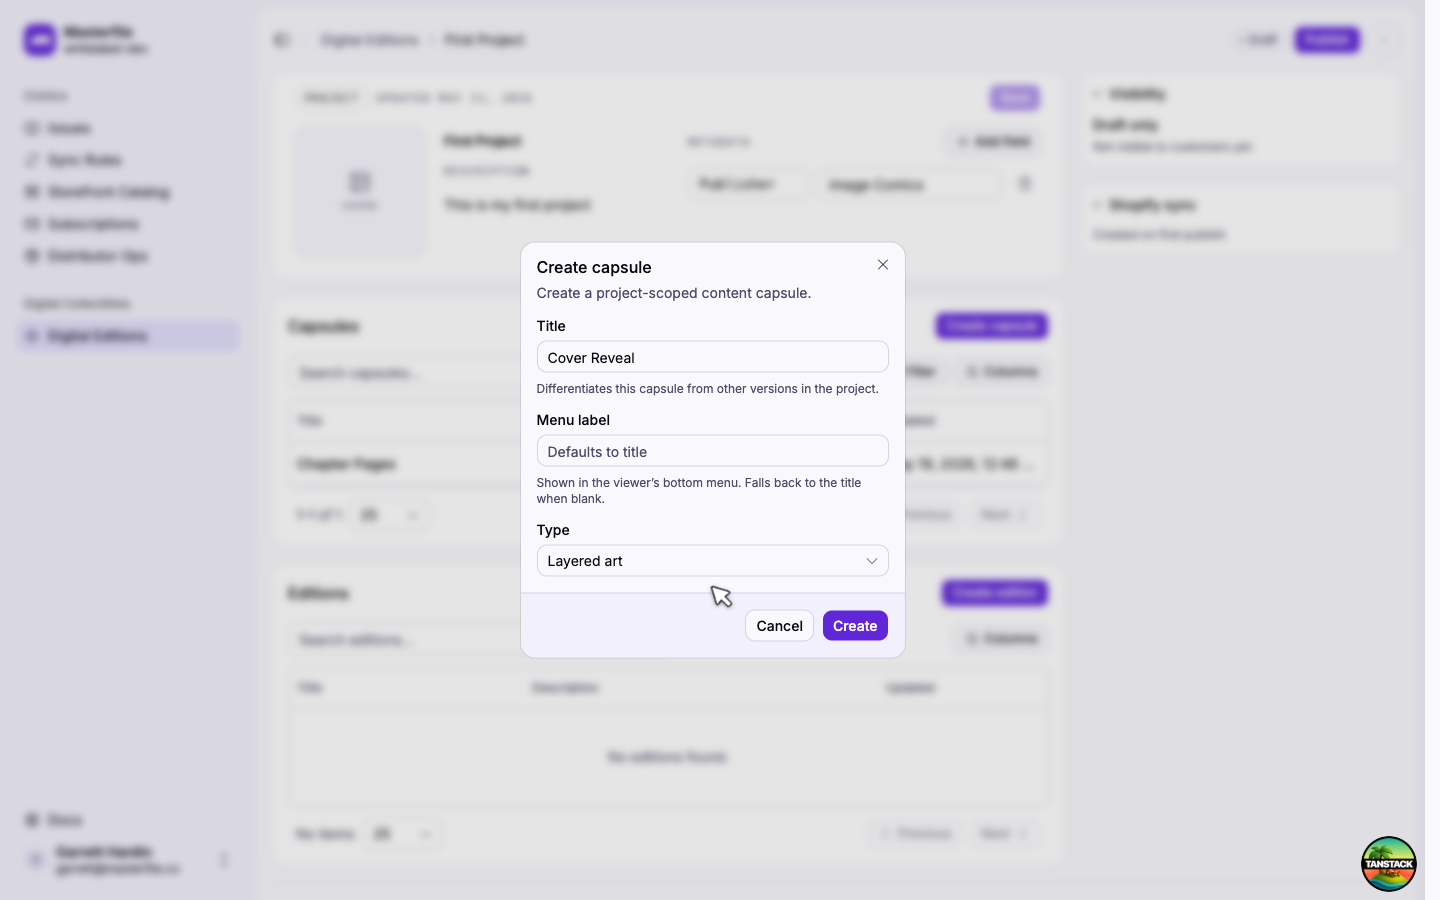
Menu label is what readers see in the viewer's bottom bar. Leave it blank to fall back to the title.
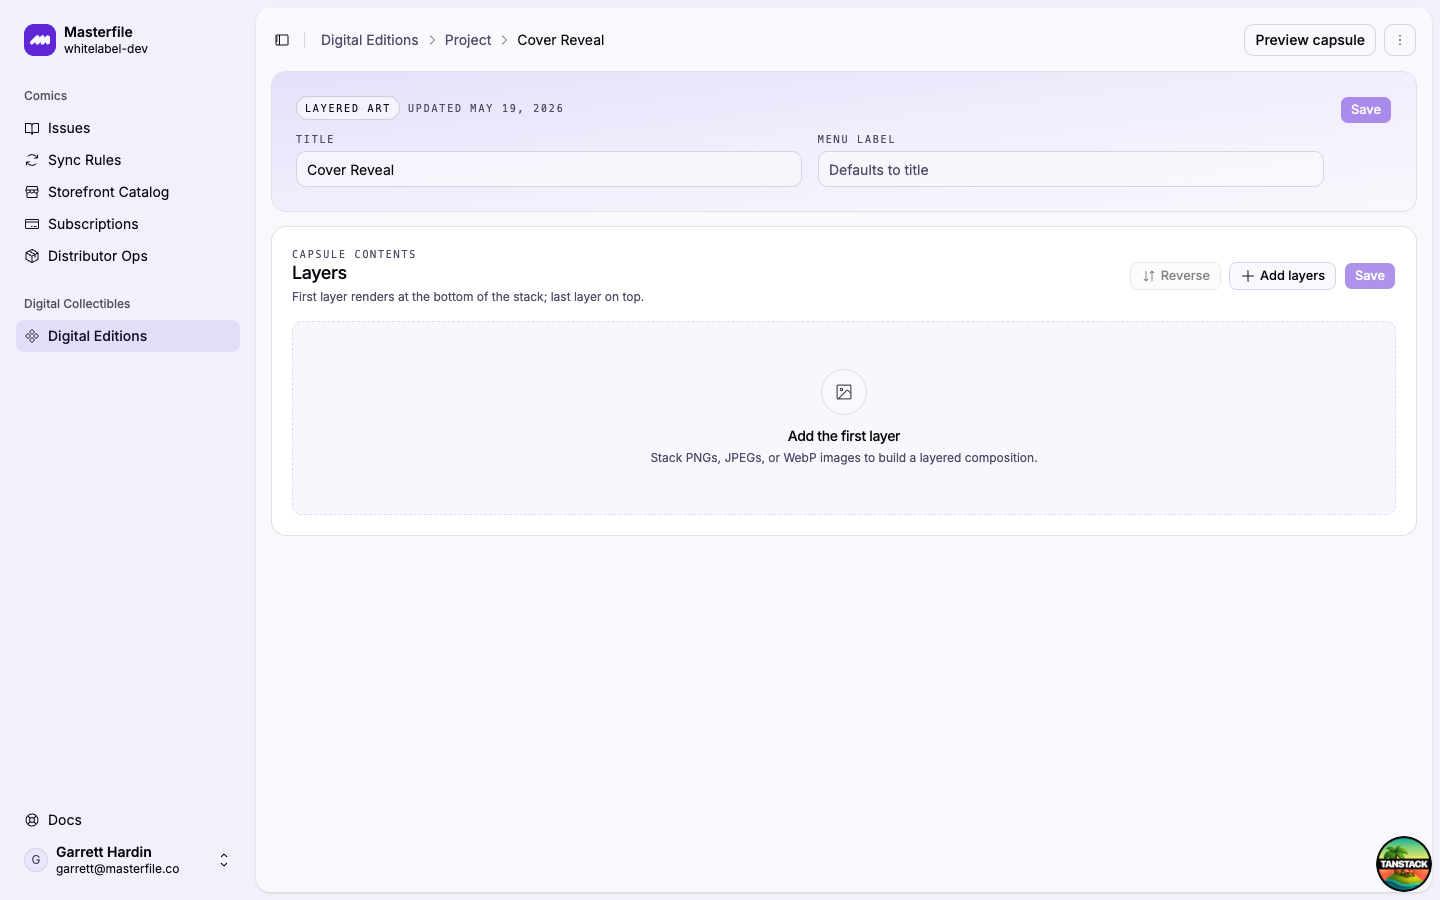
2. Add layers
Click Add the first layer to open the media library.
Pick existing images or switch to Upload to add new ones (PNG, JPEG, WebP, or AVIF). Each image becomes one layer; use transparent PNGs so layers below show through.
3. Order the stack
Layers render bottom-to-top in the order shown. The first row is the back of the scene, the last row is on top. Drag the handle on any row to reorder, or use Reverse if you uploaded the stack upside-down.
4. Choose what's visible by default
Each layer has a Visible by default switch. Leave it on for layers that should be showing the moment the capsule opens. Switch it off to start a layer hidden. Useful for surprise reveals, alternate outfits, or annotation overlays the reader opts into.
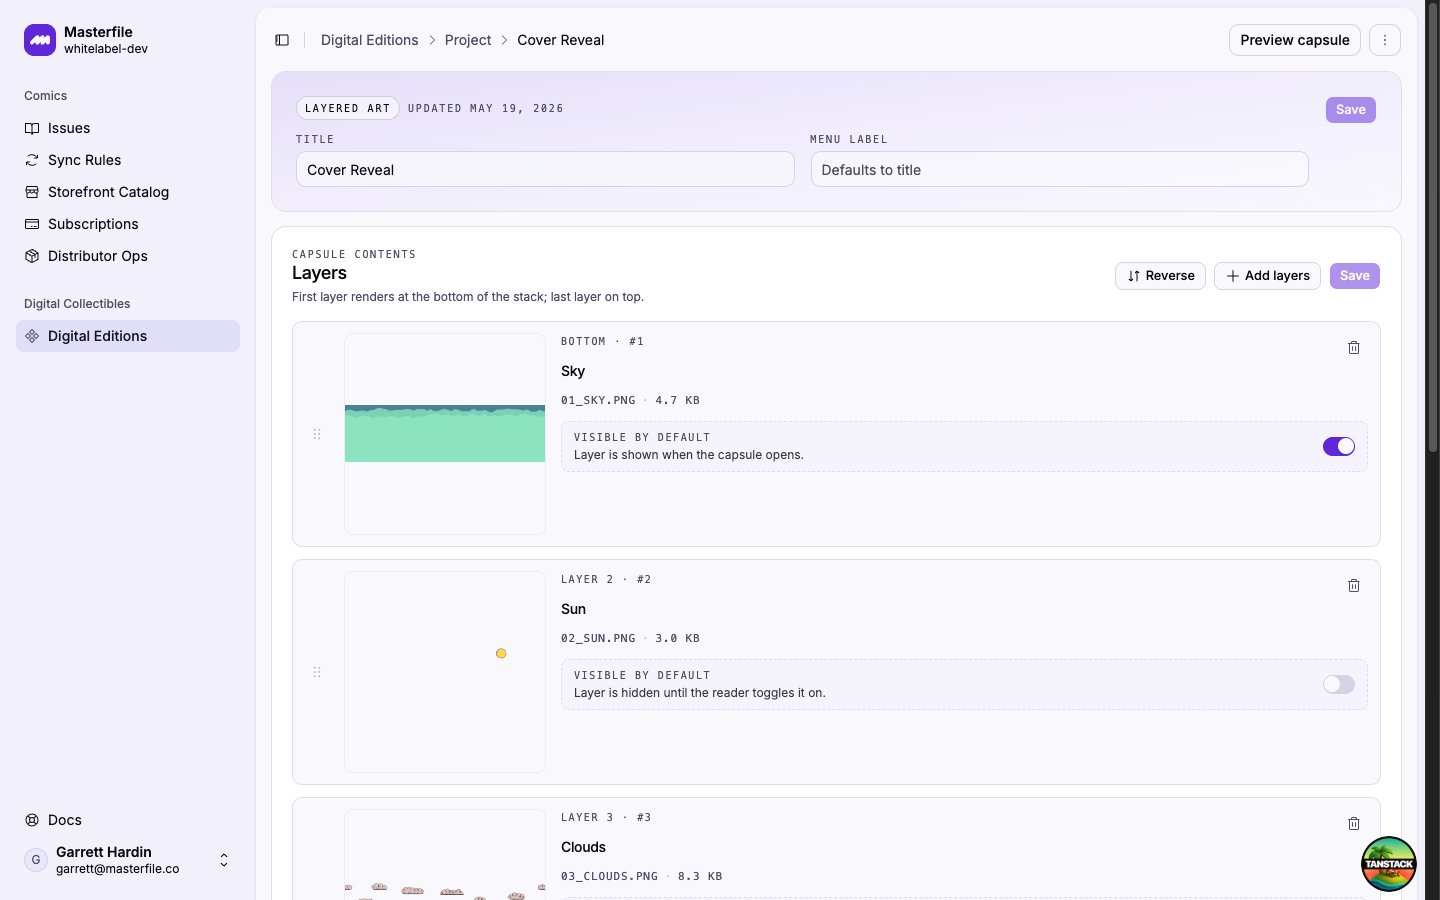
Rename each layer in the title field. The label is what readers see in the layer panel.
5. Save
Click Save in the Layers card header.
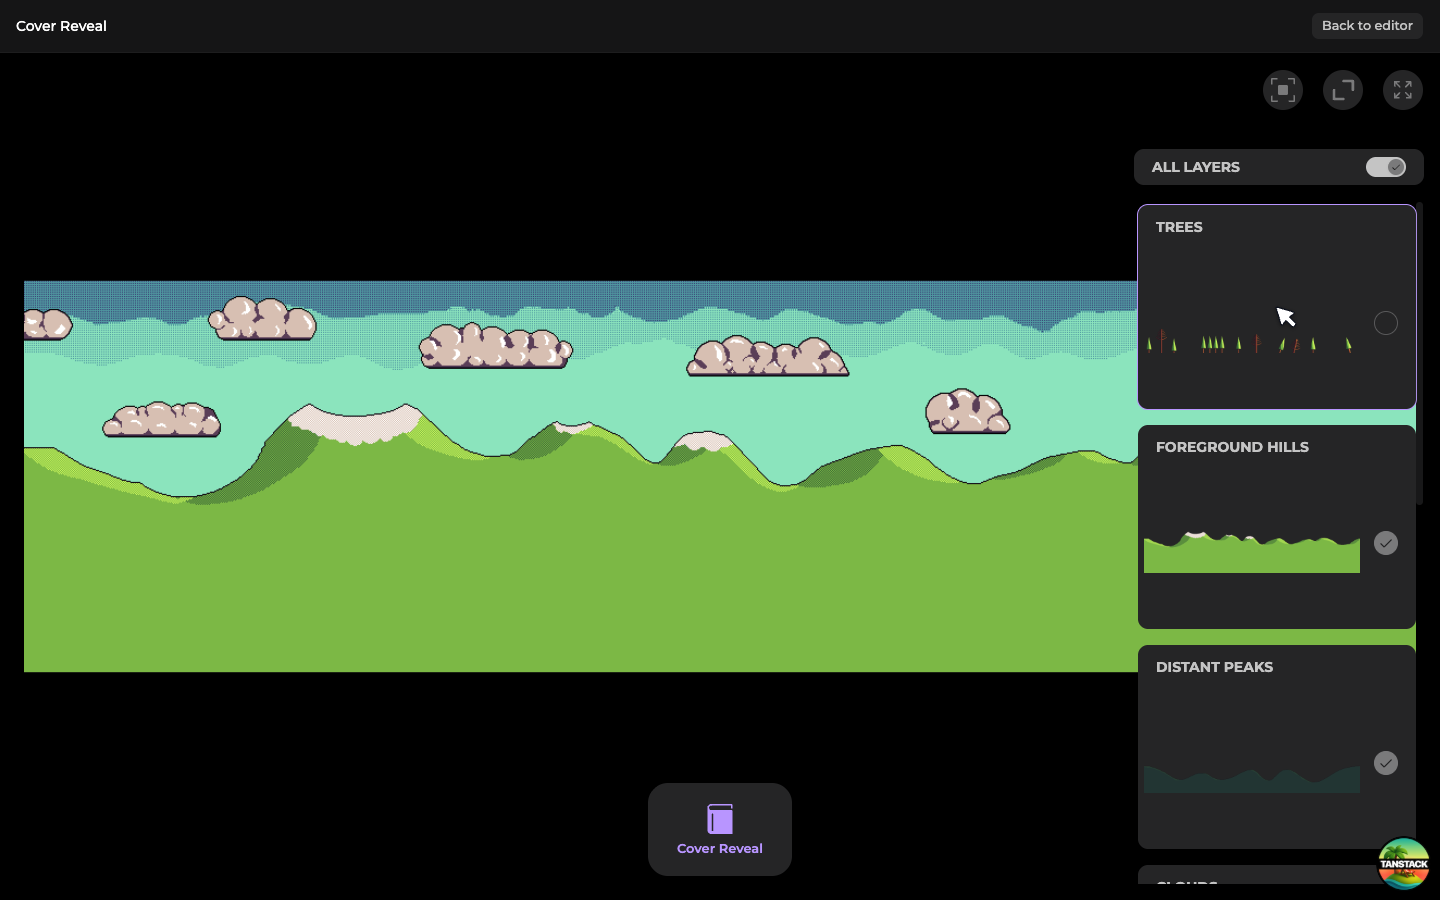
6. Preview
Click Preview capsule in the page header to see the capsule exactly as customers will. Tap any card in the right-hand panel to toggle that layer; use All layers at the top to flip the whole stack at once.
Next steps
Capsules reach customers once they're bundled into an edition and the project is published. Continue with Compose and preview an edition.