Set up your catalog page
A comic store can carry thousands of active products at once. Shopify's default collection pages aren't built to filter or sort that kind of volume by comic-specific data like writer, age rating, or on-sale date. The Masterfile catalog page is a storefront page purpose-built for browsing a large comic catalog — with search, filters driven by your product metafields, and pagination.
The page covers every active product in your store, not just the ones Masterfile syncs. Manually-created products appear alongside synced ones as long as they share the metafields you're filtering on.
Open Storefront Catalog. There are two things to configure: the storefront menu link, and the filters.
1. Add the catalog link to your storefront menu
Customers reach the catalog page through your main navigation. If the menu link doesn't exist yet, the top of the page prompts you to add it.

Click Add to menu. Masterfile adds a "Catalog" item to your Shopify main menu pointing at the catalog page. No theme editing is required — the page is served by the Masterfile app directly.
Masterfile serves the catalog page for you — there's no Shopify page or template to create, duplicate, or maintain. The Add to menu button only adds the navigation link; the page itself is always live.
Once the link is in place this prompt disappears. You can rename or reorder the menu item later from Shopify's navigation settings; Masterfile only needs the underlying link to exist.
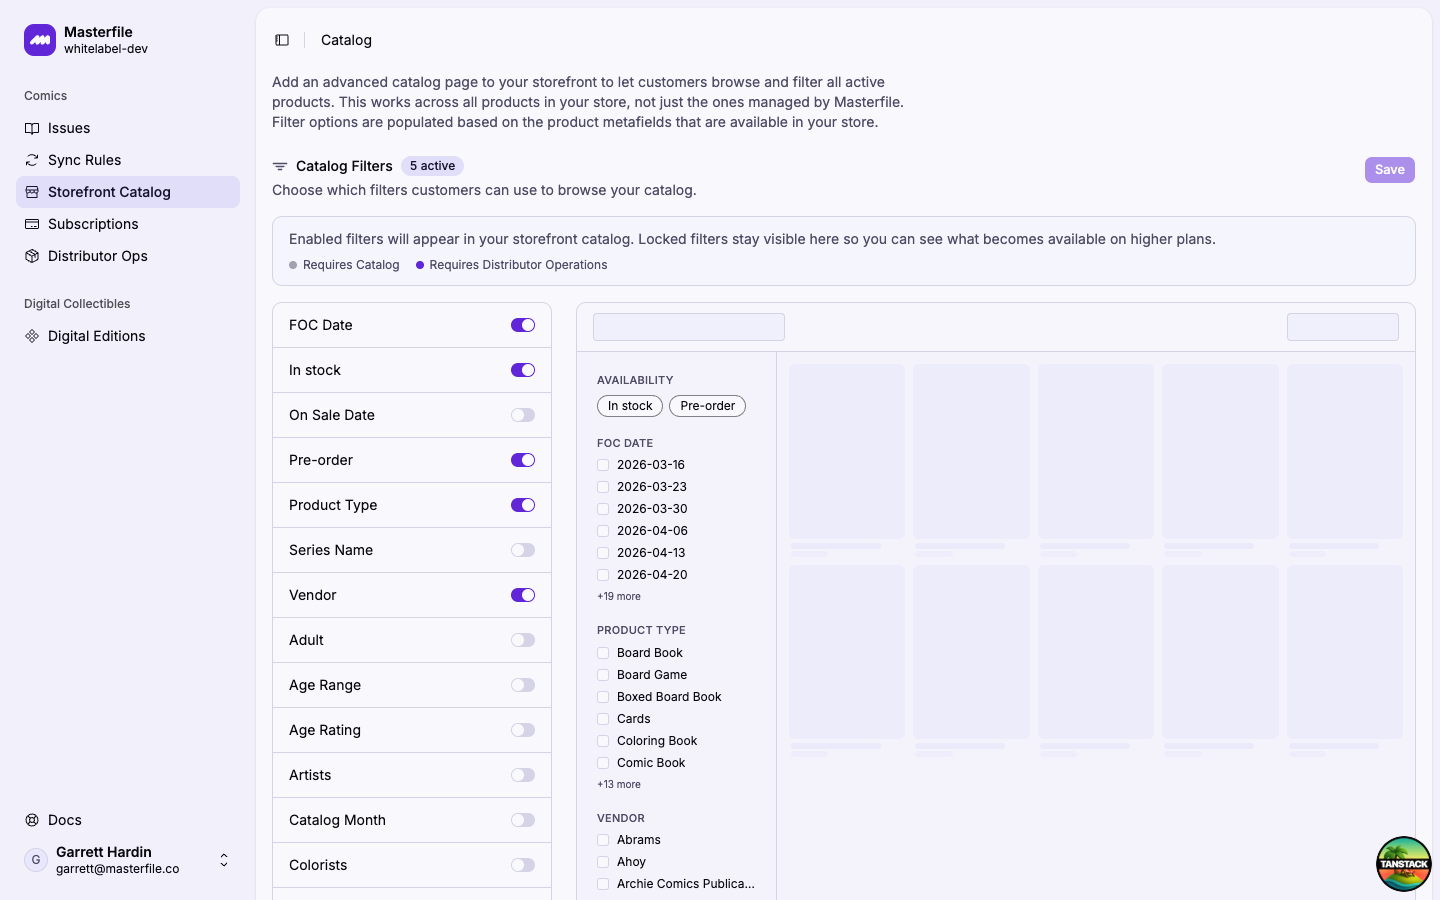
2. Choose which filters customers see
The Catalog Filters section lists every filter available to your store. Toggle on the ones you want customers to see in the storefront sidebar.
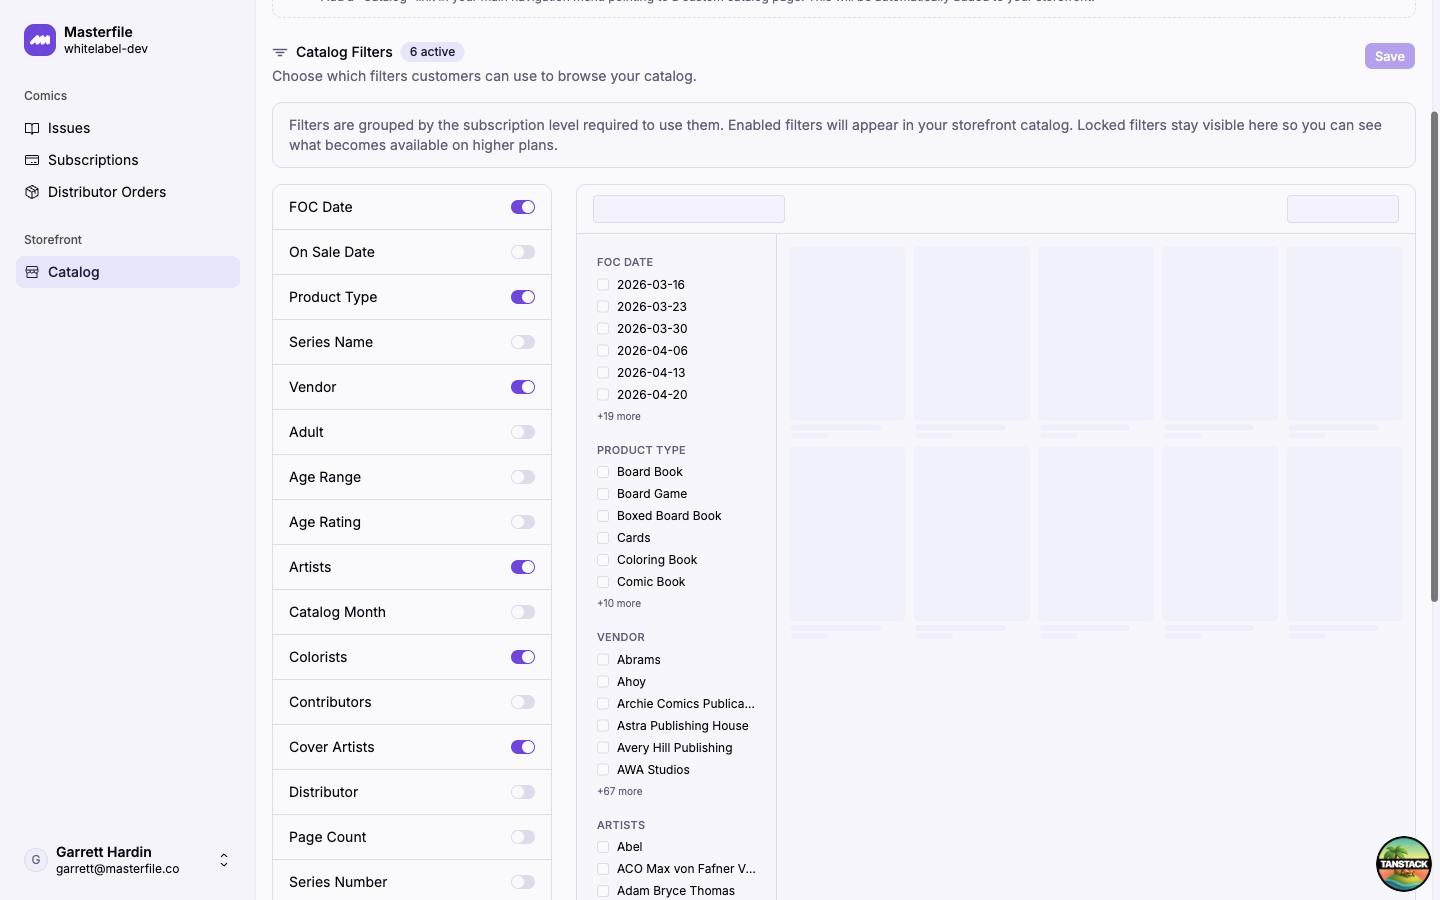
Filter options are populated from the metafields on your products, so the list reflects what's actually in your catalog. Common filters include:
- FOC Date, On Sale Date — release dates.
- Product Type — format.
- Vendor, Series Name — publisher and series.
- Age Rating, Adult, Age Range — content ratings.
- Writers, Artists, Colorists, Cover Artists, Contributors — credits.
- Distributor, Catalog Month, Page Count, Series Number, Variant Mechanic, Variant Ratio.
Locked filters stay visible in the list with a small colored dot — grey for Requires Catalog and orange for Requires Distributor Operations — so you can see what becomes available on each plan. The legend above the filter list spells out which dot is which. Upgrade your plan to unlock them.
The Save button stays disabled until you've made a change. When you save, enabled filters appear in the storefront sidebar immediately — no deploy or theme republish needed.
What happens next
Your customers now have a dedicated page for browsing your entire active catalog. Here's an example of the live catalog with filters enabled:
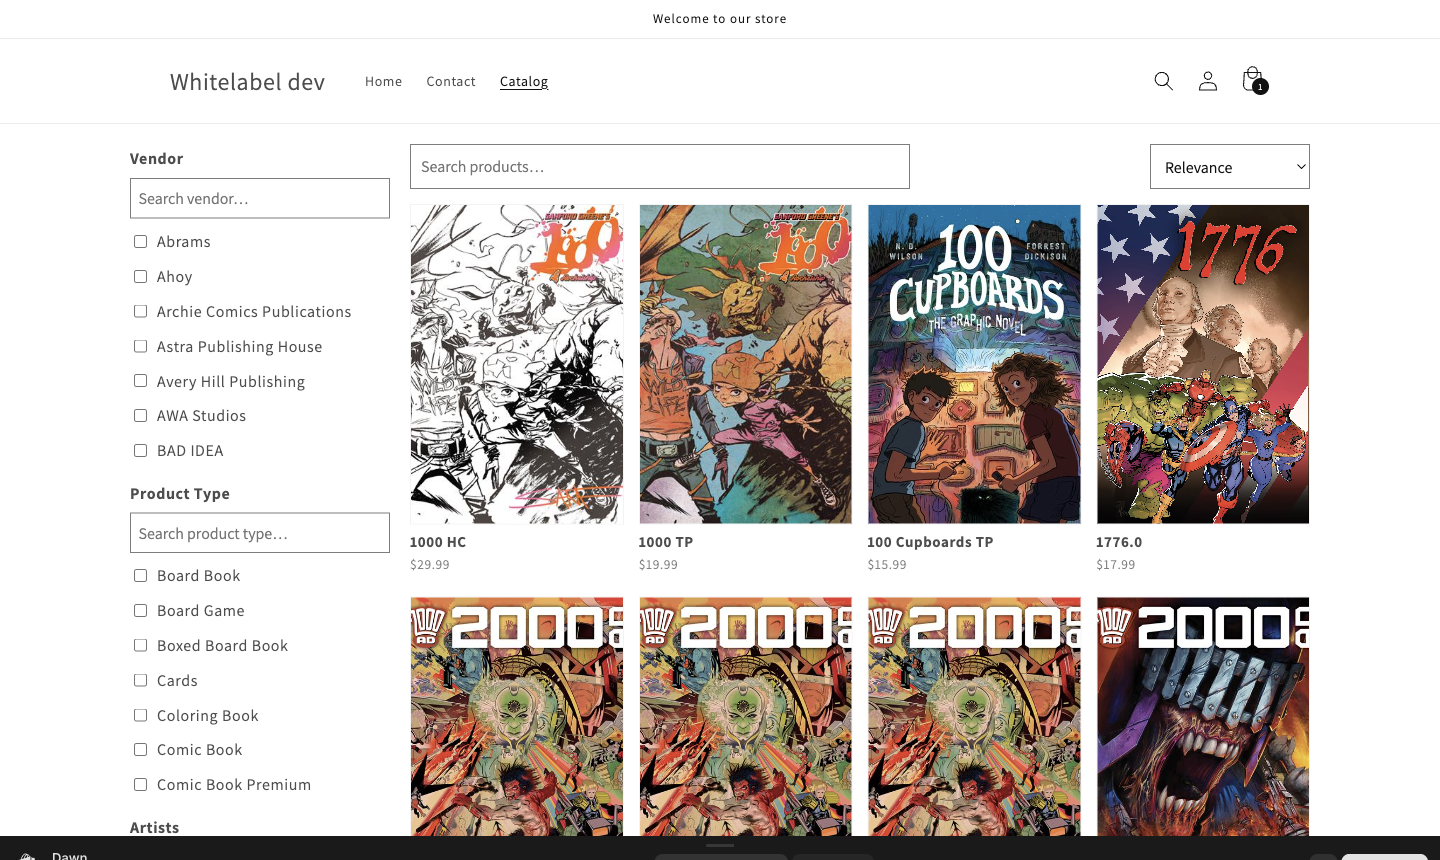
The page supports:
- Full-text search across product titles.
- Sort by relevance, title, date, vendor, or product type.
- Filters for every option you enabled, encoded in the URL for shareable links.
- Pagination at 24 products per page.
The catalog page automatically adapts to your active Shopify theme — header, footer, fonts, colors, and product card styling all come from the theme. Switch themes and the catalog follows without any reconfiguration here.